
Width & Height
You can set bounds for an image with the width and/or height commands. How those bounds are interpreted is determined by the mode command. If only width or height is specified, aspect ratio is maintained.
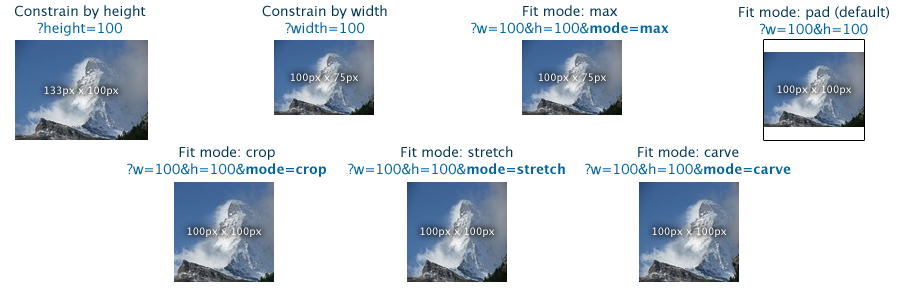
Note: mode=carve requires the SeamCarving plugin.
Scale=down|both|canvas
By default, images are not enlarged - the image stays its original size if you request a larger size.
To allow both reduction and enlargement, use scale=both. Image enlargement causes blurriness and should be avoided. scale=canvas is another option. The image never gets upscaled, but the canvas is expanded to fill the desired area.
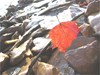
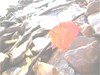
Here we attempt to upscale an image using scale=down, scale=both, and scale=canvas respectively.


You can change the default behavior from scale=down to something else with the DefaultSettings plugin.
Alignment
So, you don't like images being centered when you use mode=crop, mode=pad, or scale=canvas? You can pick the alignment type with the anchor command.
Valid values are topleft, topcenter, topright, middleleft, middlecenter, middleright, bottomleft, bottomcenter, and bottomright.
Mode=Crop, Anchor=Topleft:  Anchor=bottomright:
Mode=Pad, Bgcolor=gray, Anchor=Topleft:  Anchor=bottomright:
Scale=canvas, bgcolor=gray, Anchor=Topleft: 
Formats & compression
Set format=jpg, format=gif, or format=png to force a particular output format. By default, the original format (or the closest match) is used; however, you can convert any format file to any other file, maintaining transparency, IF the PrettyGifs plugin is installed.
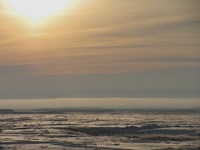
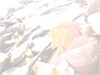
Adjust jpeg compression with the quality=0..100 command. The default is 90, an excellent tradeoff between size and perfection.
0: 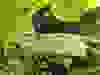 5:
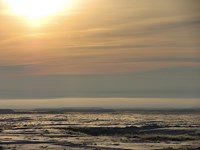
5:  10:
10: 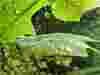 20:
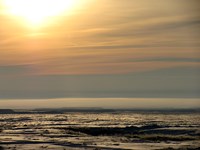
20: 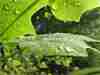 30:
30:  40:
40: 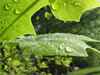 50:
50:  60:
60:  70:
70:  80:
80:  85:
85:  90:
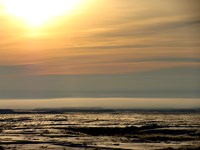
90:  95:
95:  100:
100: 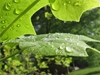
You need the PrettyGifs plugin to get acceptable GIF quality, adjust compression, or even support transparency. Windows support for GIF files isn't as efficient. You'll also need the AnimatedGifs plugin if you're using those.
If you want to generate 8-bit PNG files, you'll also need the PrettyGifs plugin. Only 32-bit PNG files are supported by default.
Adjusting compression in GIF files happens by setting the colors=2..256 command.
With PrettyGifs
16:  32:
32:  64:
64:  128:
128:  256:
256: 
With dithering: 16:  64:
64:  256:
256: 
Without PrettyGifs, on Server 2008 and above
256 colors (You cannot adjust compression): 
Without PrettyGifs, on Server 2003 and below
256 colors (You cannot adjust compression): 
Background color
Dislike white? Transparent padding is added (when required) for PNGs and GIFs, but jpegs don't support transparency.
Add bgcolor=name or bgcolor=33ddff to set the background (matte) color. Named colors and hex values supported.
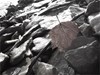
Cropping
The URL syntax for cropping is &crop=x1,y1,x2,y2. The coordinates are relative to the top-left corner of the original image - if they are positive values.
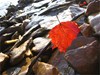
If X2 or Y2 are 0 or less, they are relative to the bottom-right corner. This allows easy trimming without knowing the size of the image.
For example, crop=0,0,0,0 leaves the image uncropped. crop=10,10,-10,-10 removes 10 pixels from all edges of the image.
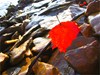
In addition, you can specify cropxunits and cropyunits. Setting them to 100 allows you to crop by percentage. Example which crops 10% off each edge: ?cropxunits=100&cropyunits=100&crop=10,10,90,90. Setting them to the width/height of the display image allows you to crop in display coordinates, without needing to know the original size of the image.
Disk Caching - why you need it
Every public-facing website needs disk caching for their dynamically resized images (no, ASP.NET's output cache won't work). This module is extremely fast, but decoding the original image requires a large amount of contiguous RAM (usually 50-100MB) to be available. Since it requires contiguous, non-paged, non-fragmented RAM, it can't be used as a (D)DOS attack vector, but it does mean that there is a RAM-based limit on how many concurrent image processing requests can be handled. The DiskCache plugin improves the throughput 100-10,000X by delegating the serving of the cached files back to IIS and by utilizing a hash-tree disk structure. It easily scales to 100,000 variants and can be used with as many as a million images. The DiskCache plugin requires you to use the URL API (read why).
Controlling disk caching of results
- Cache=No - Prevents the current request from being disk cached
- Cache=Default - Caches the image if it is processed, doesn't cache the image if it's served unmodified
- Cache=Always - Forces the current image request to be disk cached, even if the image isn't modified. Useful for remotely stored images.
Controlling processing
- Process=No - Prevents the requested image from being modified. Useful if you want to cache but not process an image
- Process=Default - Processes the image only if one of the defined querystring commands are being used.
- Process=Always - Forces re-encoding of the image, even if no other operations are requested. Good for preventing XSS attacks from untrusted image sources.
Edge Caching - why you need it
If you have visitors farther than ~600 miles away from your server, you can further improve their experience with edge caching. Amazon CloudFront and Microsoft CDN have made it very affordable; my monthly CloudFront bill averages less than $2. Faster website response times mean more sales, according to every study I've read on the topic. Of course, I would imagine that kind of study is naturally biased, but it does seem to be a logical conclusion.
A CDN also helps your scalability. By reducing the static file load handled by your application server, you free it up to handle ASP.NET page requests faster. Disk caching is still important however, as each of the hundreds of edge caching locations makes an independent request for a given image, and does not guarantee that it will stay in the cache for as long as you want. Even with edge caching on for all your images, you'll still see a great response time and throughput improvement by enabling the DiskCache plugin.
Back to cooler stuff…
The following filters require the SimpleFilters plugin, part of the Creative edition.
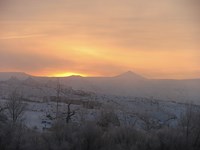
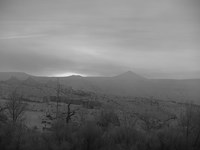
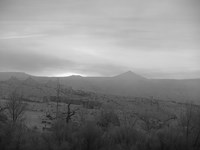
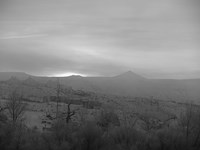
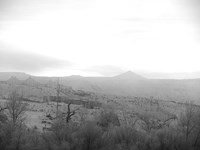
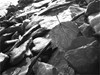
4 ways to grayscale
s.grayscale=true|y|ry|ntsc|bt709|flat (true, ntsc, and y produce identical results)
The following examples use NTSC/Y/True, RY, BT709, and Flat respectively
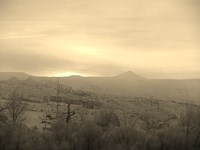
1 way to sepia
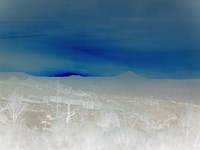
Inversion
Adjust opacity/alpha
s.alpha= 0..1
For true transparency, combine with format=png. Otherwise, the image will be blended against bgcolor.


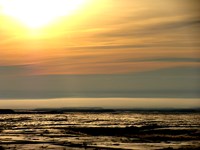
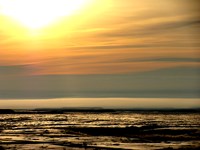
Adjust contrast
s.contrast= -1..1


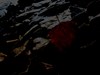
Adjust brightness
s.brightness= -1..1


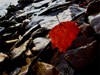


Adjust saturation
s.saturation= -1..1


These are just a few of the available commands. To learn more, see the full command reference
Not covered here: cropping, zooming, rotating, padding, margins, borders, shadows, watermarks, 404s, auto-trim, and alternate pipelines.